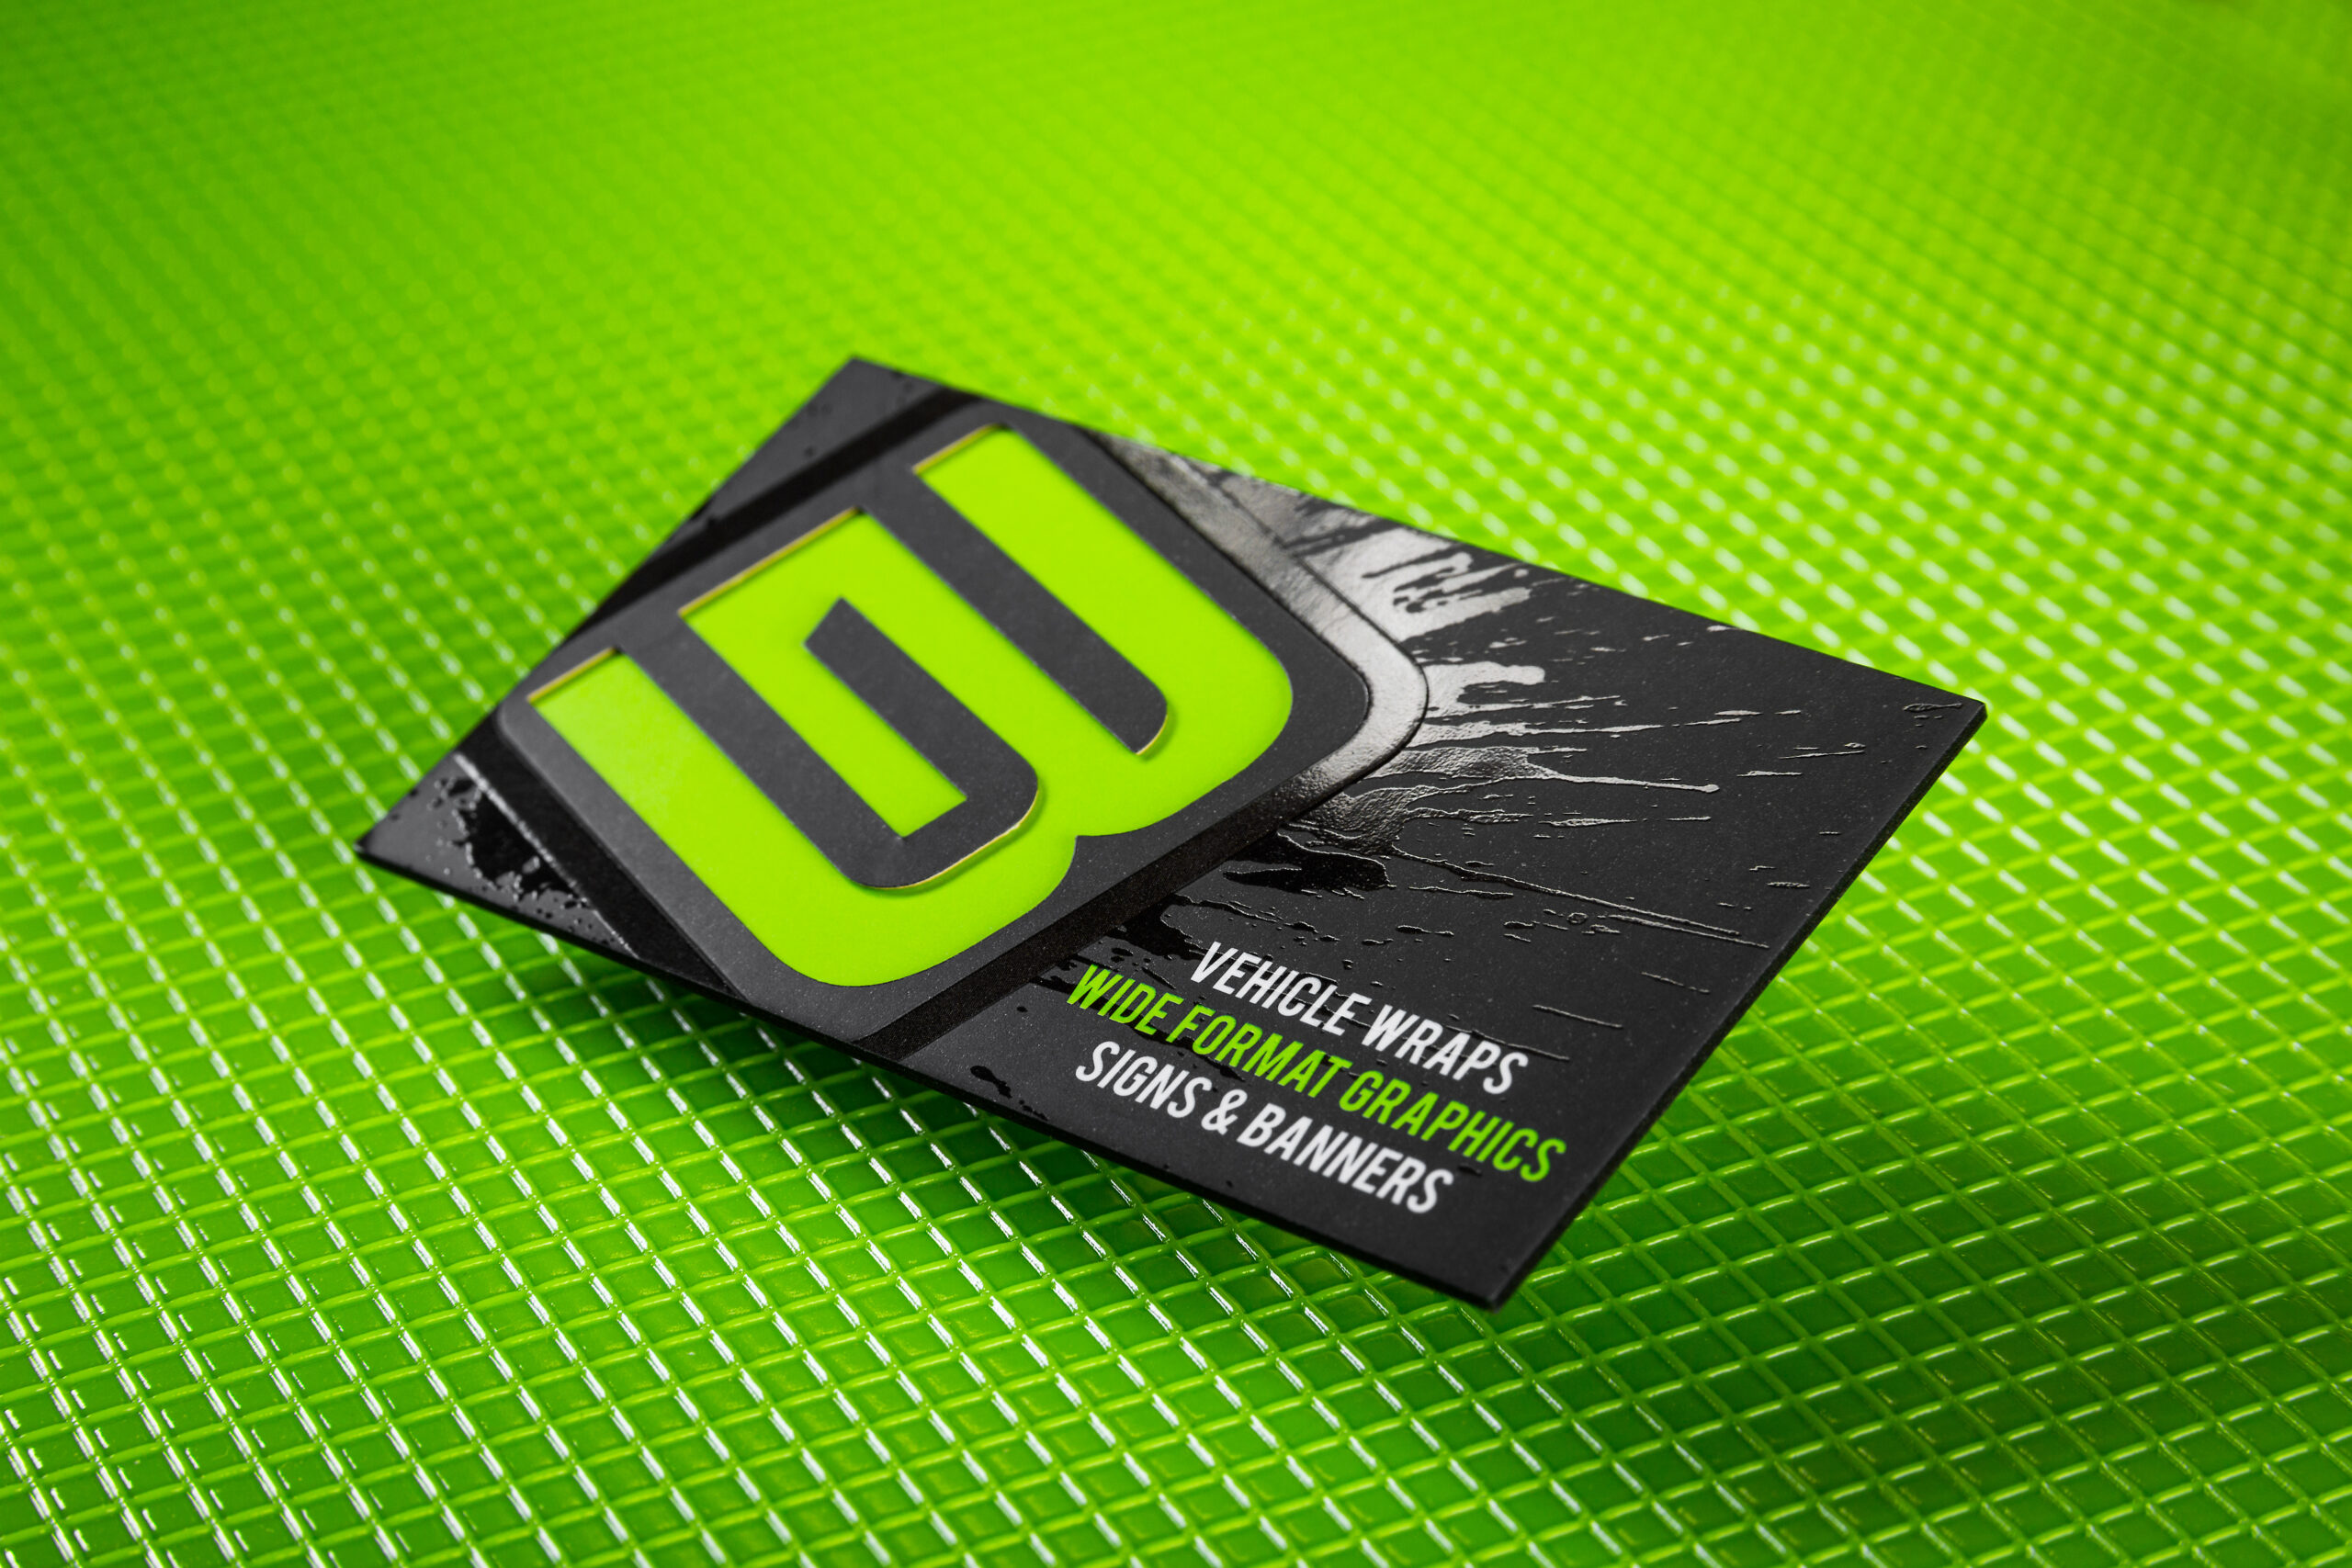
In the design world, the delicate details often make the most significant impact. One such technique that can elevate your design to a whole new level is the addition of Spot UV.
Spot UV adds a glossy, raised layer to specific areas of your plan, creating a stunning contrast and tactile experience.
In this step-by-step guide, let’s explore how to include Spot UV to take your design from average to extraordinary.
Step 1 – Understand the Basics of Spot UV
Before diving into the application process, it’s crucial to grasp the fundamentals of Spot UV. Spot UV, short for “Spot Ultraviolet,” involves applying a clear, shiny coating to select parts of your design.
This coating adds a visually striking gloss and provides a tactile element that can be felt when touched.
On Website PrintshaQ, you can buy premium quality Spot UV Business Cards at affordable rates. Customer reviews speak volumes about their professionalism, quality, and value. Just check it out!

Step 2 – Choose the Correct Design Features
Not every design benefits from Spot UV, so choosing your design elements wisely is essential. Logos, text, or specific graphics you want to highlight and make pop are ideal candidates for Spot UV.
Consider the overall aesthetic of your design and select elements that will benefit from a glossy, raised finish.
Step 3 – Design with Spot UV in Mind
When you create a design, remember where you want to apply Spot UV. Use graphic design software like Adobe Illustrator or Photoshop to create separate layers for the Spot UV elements. This will simplify the printing process and ensure precision when the coating is applied.
Read also: Do You Know Whom Should You Contact with Your Issue?
Step 4 – Communicate with Your Printer
Once your design is ready, it’s time to communicate with your printer. Please provide them with separate files for the Spot UV elements and discuss the coating details, such as the thickness and placement. Effective communication with your printer is vital to achieve the desired results.
Step 5 – Print a Prototype
Before committing to an entire print run, consider producing a prototype to evaluate the Spot UV effect. This allows you to make any necessary adjustments and ensures that the final product meets your expectations.
Pay attention to how light interacts with the glossy areas and how the tactile feel enhances the overall experience.
Step 6 – Choose the Right Materials
The choice of materials can significantly impact the effectiveness of Spot UV. Opt for high-quality paper or cardstock that can withstand the coating process without warping or distorting the design. Combining premium materials and Spot UV can produce a luxurious and professional finish.
Step 7 – Consider the Overall Design of Harmony
While Spot UV can undoubtedly add a wow factor, it’s crucial to maintain harmony in your overall design. Avoid overdoing Spot UV, which can diminish its impact and make the design appear cluttered.
A balanced approach ensures that the Spot UV enhances the overall aesthetic rather than overpowering it.
Following PrintshaQ on their Official Instagram profile lets you connect with their community. You can leave comments and ask questions through their content. It is beneficial for future collaborations.
Go ahead with the Spot UV technique and take your business card design to new heights!


